How to Choose the Right Adapter Board for Your Project
How to Choose the Right Adapter Board for Your Project
Choosing the right adapter board is very important for your project. You must check if it matches your needs. Look at compatibility, connectors, features, and the environment. Picking the wrong one can cause your project to fail. It can also waste your time and money. Many projects break because of solder joint fatigue and delamination. The chart below shows how often these problems happen.
If you pay attention to these things, your project will do better.
Key Takeaways
First, make sure your adapter board works with your development board and LCD. Check the connectors and interface standards to see if they match. - Pick the right connector type and pin count. This helps you get good power and data connections. It also saves space and money. - Know how much power and data your project needs. This helps you stop damage or bad performance. Use tools like power meters to check the current. - Think about things like moisture, temperature, and shocks. Choose boards with protective coatings and waterproof connectors if you need them. - Test your prototype in real situations before you finish your project. This helps you find mistakes and make your project work better.
Adapter Board Basics
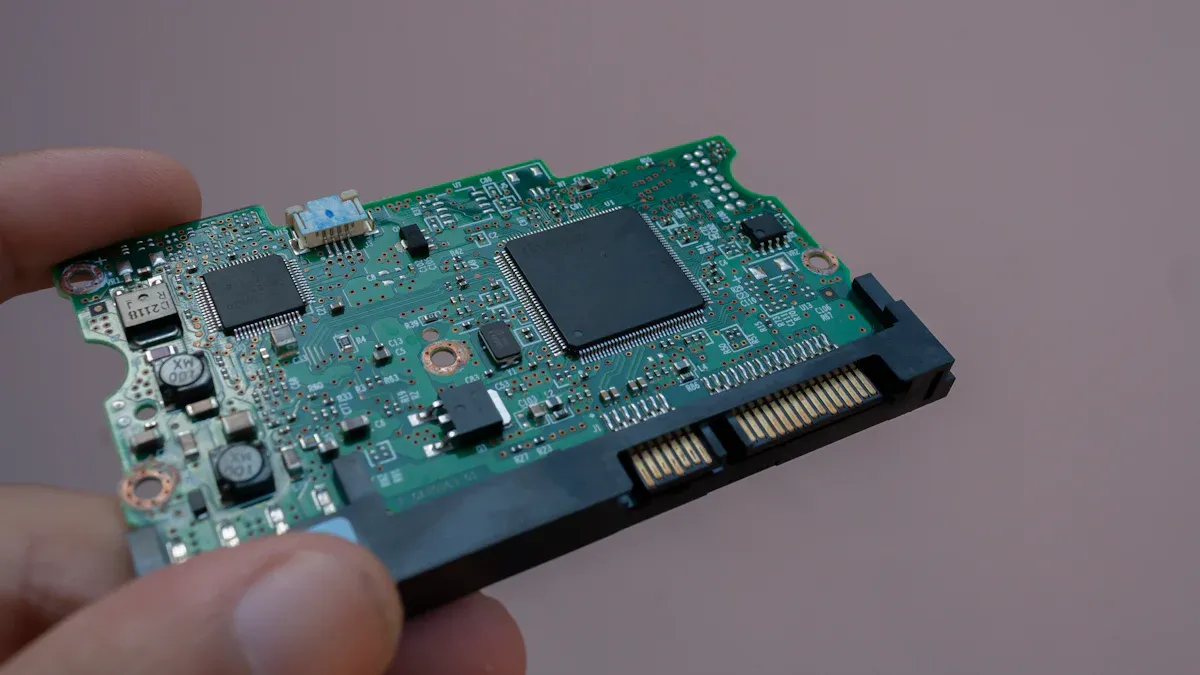
What Is an Adapter Board
You use an adapter board to connect two devices that do not fit together directly. This small circuit board acts like a bridge. It changes the shape or type of connector, so your parts can talk to each other. For example, you might want to connect a raspberry pi to a new lcd screen. The lcd might have a different connector than your raspberry pi. The adapter board solves this problem. You can also use an adapter to add new features, like extra ports or better power control.
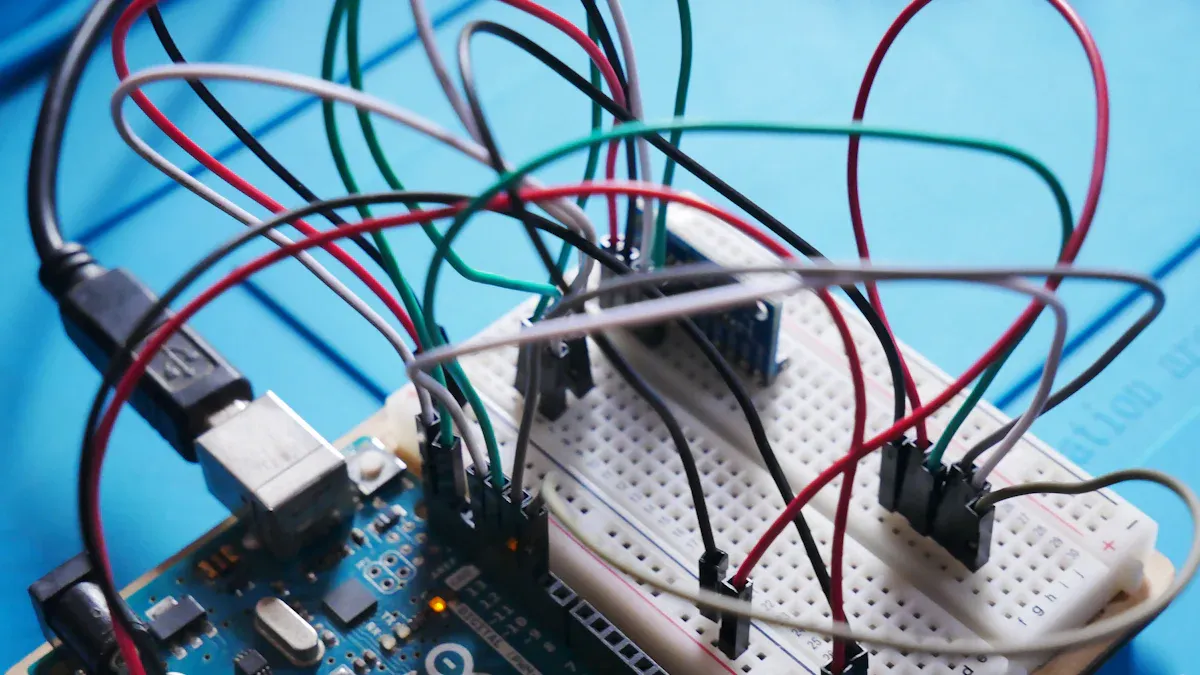
Tip: When you work with a raspberry pi, you often need an adapter board to connect lcd panels, sensors, or other modules. This makes your project more flexible and helps you try new ideas.
Common Uses
You see adapter boards in many projects. They help you connect s to a raspberry pi, or link different types of lcd panels to your system. You might use an adapter to connect a raspberry pi to a touchscreen lcd for a smart home display. Some people use them to add a second lcd to a raspberry pi for a dual-screen setup.
Here are some real-world examples of how people use adapter boards:
The Mu One 45W USB-C adapter uses special chips to make a small, powerful charger for phones and laptops.
Data centers use adapters with high-density chips to manage power for servers.
Electric vehicles use adapter boards to control power between batteries and motors.
Companies like Infineon and Navitas make adapters for lcd power delivery in consumer electronics, raspberry pi projects, and even big data centers.
You can also use an adapter board to connect a raspberry pi to different lcd types, like LVDS or eDP. This lets you pick the best lcd for your project. If you want to build a portable game console with a raspberry pi, you need the right adapter to match your lcd and board.
Note: Always check if your lcd and raspberry pi need a special adapter. This helps you avoid problems and makes your project work better.
Adapter Board Criteria
Compatibility
You should check compatibility first when picking an adapter board. Compatibility means your adapter board must work with your board and lcd. If you use a raspberry pi, make sure the adapter board fits its pins. Some microcontrollers need special input compatibility. You also need to look at interface standards. These standards help your devices talk to each other. Here is a table that shows some common standards and where you might use them:
Standard/Protocol
Type
Communication Mode
Speed Range
Typical Applications
Advantages
UART
Asynchronous serial communication
Full-duplex
Up to ~1.5 Mbps
Wi-Fi modules, GPS, Bluetooth peripherals
Compact, low power
CAN
Multi-master serial communication
Half-duplex (broadcast)
Up to 5 Mbps (CAN-FD)
Automotive, robotics, industrial automation
Robust error handling, reliable in noisy environments
USB
Plug-and-play serial communication
Half-duplex (USB 2.0), Dual-simplex (USB 3.0)
Up to 40 Gbps (USB4)
Computers, smartphones, peripherals
Widely supported, hot-pluggable, high-speed
Ethernet
Wired network communication
Full-duplex
10 Mbps to 400 Gbps
LANs, IoT devices, servers, industrial automation
Reliable, high-speed, standardized
PCIe
High-speed serial expansion bus
Full-duplex
Up to 64 GT/s (PCIe 6.0)
GPUs, SSDs, network cards
High throughput, scalable lanes
LVDS
High-speed differential signaling
Full-duplex or simplex
Hundreds of Mbps
Displays, cameras, medical devices
Low noise, low power, high speed
MIPI
High-speed serial interface suite
Simplex or half-duplex
Up to 6 Gbps
Mobile cameras, displays
Standardized for mobile, low power
You want to match the interface on your raspberry pi or microcontroller with the adapter board. If you use an lcd, check if it needs LVDS, MIPI, or another protocol. This step helps you avoid problems later in your project.
Tip: Always double-check the datasheets for your development board and lcd. This helps you spot any hidden compatibility issues before you start building.
Connector Type & Pin Count
Connector type and pin count are important for your project. You need connectors that fit your board and lcd. Different projects use different connectors. For example, a raspberry pi might use a 40-pin header. Some lcd panels use flat ribbon connectors. Here are some things to think about:
Coaxial connectors are good for radio signals.
Circular connectors are strong and used in factories.
Rectangular connectors fit most computers and networks.
Waterproof connectors keep your project safe from water.
Medical-grade connectors are safe for healthcare.
Automotive connectors work well in cars.
You also need to match the pin count. Some projects need only 2 pins. Others need 8, 14, or more. The right pin count gives your device the power and data it needs. Too many pins can waste space and money. Sometimes, you need a custom connector for your project. You can pick different pitches, mounting styles, and even magnetic pogo pin connectors for projects that need lots of plugging and unplugging.
Note: If you use a raspberry pi, make sure the adapter board matches its GPIO pin layout. This helps you connect your lcd or other modules without trouble.
Power & Data Needs
You must check the power and data needs for your adapter board. Each board and microcontroller has its own voltage and current limits. If you use a raspberry pi, you need to know how much power your lcd or other modules will use. Too much power can break your project. Too little power can make your lcd flicker or not work.
Data speed is also important. Some lcd panels need fast data rates for high resolution. If your adapter board cannot handle the speed, your display might show errors or lag. You should look at the specs for your board, microcontroller, and lcd. Make sure the adapter board supports the right voltage, current, and data speed.
Tip: Use a power meter to check how much current your project uses. This helps you avoid overloads and keeps your raspberry pi and lcd safe.
Environmental Factors
You need to think about where your project will be used. The environment can change how long your adapter board lasts. If you use your raspberry pi and lcd outside or in a factory, there are more risks. Salt spray and moisture can cause metal parts to rust. This can lead to short circuits and make your project fail.
High humidity makes plastic parts soak up water. This weakens the board and can make layers peel apart. If your project faces big temperature changes, solder joints can crack. For example, moving from very cold to very hot can break the connections inside your adapter board. Shocks and drops can also cause cracks.
You can protect your project by choosing adapter boards with rust-proof metals and special coatings. Some boards use strong plastics that do not soak up much water. These features help your raspberry pi, lcd, and board last longer, even in tough places.
Callout: If you plan to use your project in a marine or outdoor setting, look for adapter boards with waterproof connectors and protective coatings. This keeps your raspberry pi and lcd working, even in harsh weather.
LCD Controller Board & Display Integration
LCD Panel Compatibility
When you choose an lcd controller board, you need to make sure it matches your lcd. This is called lcd panel compatibility. You want the lcd controller board to support the same interface as your lcd. The most common interfaces are LVDS, eDP, and TTL. Each one sends signals in a different way. For example, LVDS is often used in laptops, while eDP is popular in newer monitors. TTL is common in smaller screens.
You should check your lcd’s datasheet. Look for the interface type and the number of pins. The lcd controller board must match both. If you use the wrong board, your lcd will not turn on or show a picture. Some lcd controller boards can convert signals. For example, you can use a board that changes HDMI to LVDS or eDP to LVDS. This helps you connect different devices.
LCD Controller Board Types
Supported Interfaces (Input to Output)
eDP to HDMI
eDP (input) to HDMI (output)
eDP to LVDS
eDP (input) to LVDS (output)
LVDS to MIPI
LVDS (input) to MIPI (output)
LVDS to TTL
LVDS (input) to TTL (output)
Tip: Always match the connector type and pin count between your lcd and lcd controller board. This makes installation easy and avoids damage.
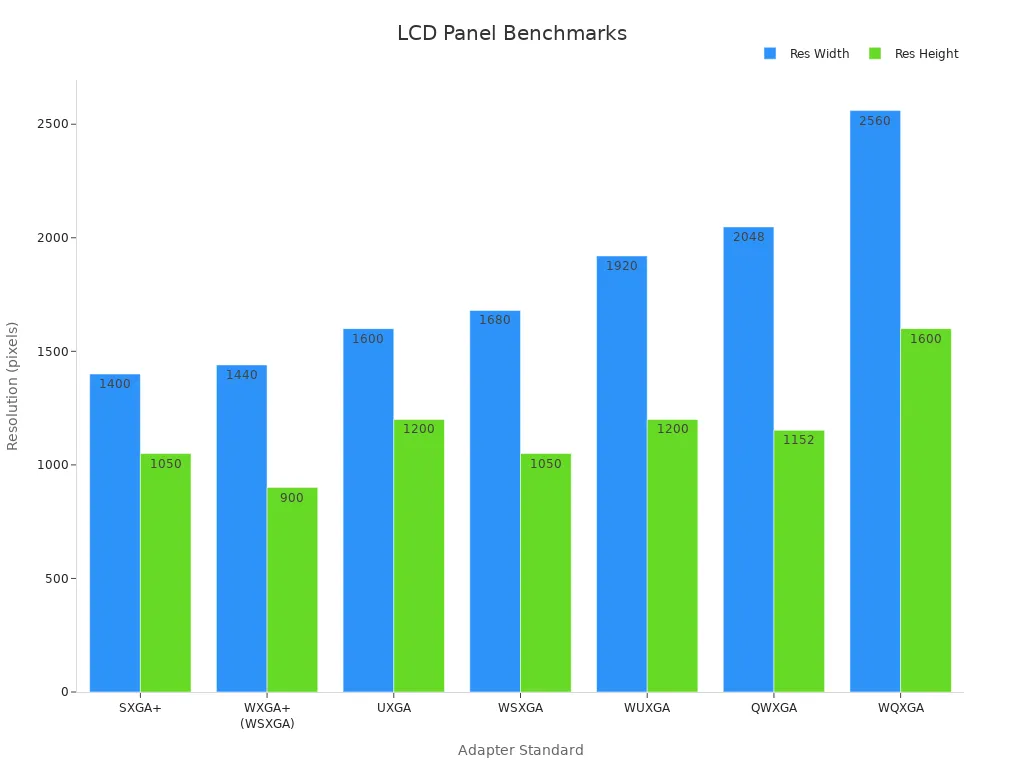
Resolution & Interface Support
The lcd controller board must support your lcd’s resolution. If you use a high-resolution lcd, you need a board that can handle it. Here is a table that shows common resolutions and where you might see them:
Adapter Standard
Resolution (pixels)
Aspect Ratio
Typical LCD Size
SXGA+
1400 x 1050
4:3
14" & 15" laptops/notebooks
WXGA+ (WSXGA)
1440 x 900
16:10
19" widescreen LCD monitors
UXGA
1600 x 1200
4:3
20" & 23" LCD monitors
WSXGA
1680 x 1050
16:10
22" monitors
WUXGA
1920 x 1200
16:10
23" - 27" widescreen LCD monitors
QWXGA
2048 x 1152
16:9
23" LCD monitors (Samsung, Dell)
WQXGA
2560 x 1600
16:10
30" widescreen LCD monitors
You also need to check if the lcd controller board supports the right input signals. Some boards take HDMI or VGA and change it to LVDS, eDP, or TTL. This lets you use many types of lcds with one board. The lcd driver board acts as a bridge, making sure your lcd gets the right signals.
Note: If you want to use a large lcd or a screen with high color depth, pick a lcd controller board with enough processing power. This keeps your images clear and smooth.
Selection Steps
Define Project Needs
Begin by making a simple list of what your project must do. Think about what you want your prototype to achieve. Decide if you need a raspberry pi, a microcontroller, or another board. Think about how much power your project will need. Some projects only need a basic microcontroller. Others need a bigger board with more memory and ports.
Here is an easy way to figure out your project needs:
Write down what your project should do.
List the features you want, like sensors or playing videos.
Check if you need a raspberry pi, microcontroller, or special board.
Decide how much power your project will use.
Count how many inputs and outputs you need.
Think about where your project will be used.
Look at connector types and see if they fit your board.
Tip: Try using online tools to compare different boards. This helps you pick the best one for your project.
Research & Compare
Next, look at different boards for your prototype. Compare each board and kit. See if they work with your microcontroller or raspberry pi. Check the specs for each board. Look at the CPU, memory, and what ports are on the board.
Here is a table to help you compare connector types for your project:
Connector Type
Application Scenario
Key Selection Criteria
Board-to-Board
Multi-board systems
Space, pitch, stacking
Wire-to-Board
Power, sensors
Locking, current rating
Edge Connectors
Expansion cards
Data speed, reliability
Backplane Connectors
Servers, telecom
Density, signal integrity
You should also check if the kit has good software support. Make sure you can find drivers and help online. If your project needs special things, like waterproofing or high current, look for those in the specs.
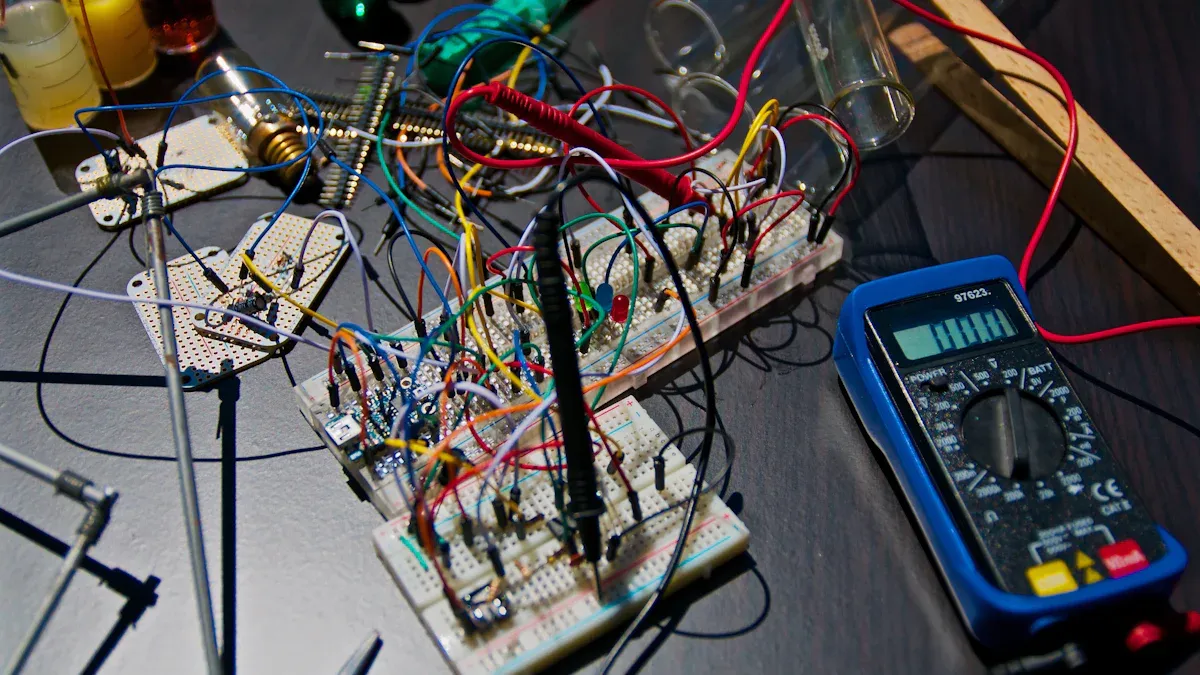
Test & Validate
Before you finish, you need to test your prototype. Use your board or kit to check if everything works. Test the power, signal, and if connectors fit well. For a raspberry pi or microcontroller, check if the board handles the right voltage and current.
Do electrical tests like checking if wires connect right.
Test the board in hot, cold, and wet places.
Bend cables and see if connectors stay strong.
Use machines to repeat tests and avoid mistakes.
Note: Good testing makes your project last longer and keeps it safe. Always follow safety rules when testing your kit.
Practical Tips
Quick Checklist
You want your project to work the first time. Use this checklist to help you pick the right adapter board for your prototype:
Check if your development board matches the adapter board. Look at the pin layout and connector type.
Make sure the lcd you choose works with your lcd controller board. Check the interface and resolution.
Write down the power needs for your lcd and development board. Use a meter to test if needed.
Look at the size and shape of your development board. Make sure it fits in your case or project box.
Test your prototype with the actual lcd and development kit before you build more units.
Review the datasheets for your lcd controller board and development board. This helps you spot problems early.
Think about where you will use your prototype. If you need it outside, pick boards with waterproof connectors.
Tip: Keep a notebook for your prototype tests. Write down what works and what does not. This saves time if you need to fix something later.
Common Mistakes
Many people make the same mistakes when building a prototype. You can avoid these problems if you know what to look for:
You forget to check if the lcd controller board supports your lcd’s resolution. This can cause a blank screen.
You pick a development board that does not have enough pins for your lcd or sensors.
You skip reading the datasheet for your development kit. This leads to missed details about power or connectors.
You use the wrong cable or connector. This can damage your lcd or development board.
You do not test your prototype in the real environment. Heat, cold, or moisture can cause your lcd to fail.
You ignore the need for extra space around your development board. Tight spaces can cause overheating.
Note: Always test your prototype with the same lcd and development board you plan to use in your final project. This helps you catch mistakes before they become big problems.
When you choose an adapter board, you set your project up for success. You match the right connectors, power, and features to your project. Using a checklist helps you avoid mistakes and keeps your project on track. In one study, following best practices raised correct answers about safety from 28.6% to 68.6%.
Year
Correct Response %
2019
28.6%
2021
68.6%
You can use these tips to make your project smoother. Stay focused on your project goals, and you will pick the right board with confidence.
FAQ
What should you do if your adapter board does not fit your LCD panel?
Check the connector type and pin count first. If they do not match, you may need a different adapter board. Always read the datasheet for both your LCD and adapter board before you buy.
Can you use any adapter board with a Raspberry Pi?
No, you cannot use just any adapter board. You need to match the pin layout and connector type. Some boards work only with certain Raspberry Pi models. Always check compatibility before you connect.
How do you know if your adapter board supports your LCD’s resolution?
Look at the adapter board’s specifications. Find the maximum supported resolution. Compare it to your LCD’s resolution. If the numbers match, you can use them together. If not, choose a different board.
What happens if you use the wrong power supply with your adapter board?
Using the wrong power supply can damage your board or LCD. Too much power may burn parts. Too little power can cause flickering or no display. Always use the recommended voltage and current.
How can you protect your adapter board in harsh environments?
Use boards with waterproof connectors and protective coatings. Place your project in a sealed case. This keeps out water, dust, and salt. Your board will last longer and work better outdoors or in factories.